
When installing a furnace, the process involves more than just placing a unit in a corner and connecting a few wires. It’s a technical procedure that, if done incorrectly, can lead to high energy costs, poor performance, and safety hazards. The Department of Energy reports that an improperly installed furnace can waste up to 30% of energy, significantly impacting utility bills and system efficiency.
In this guide, you’ll discover the steps and best practices for ensuring a successful furnace installation, whether it’s for residential or commercial use.
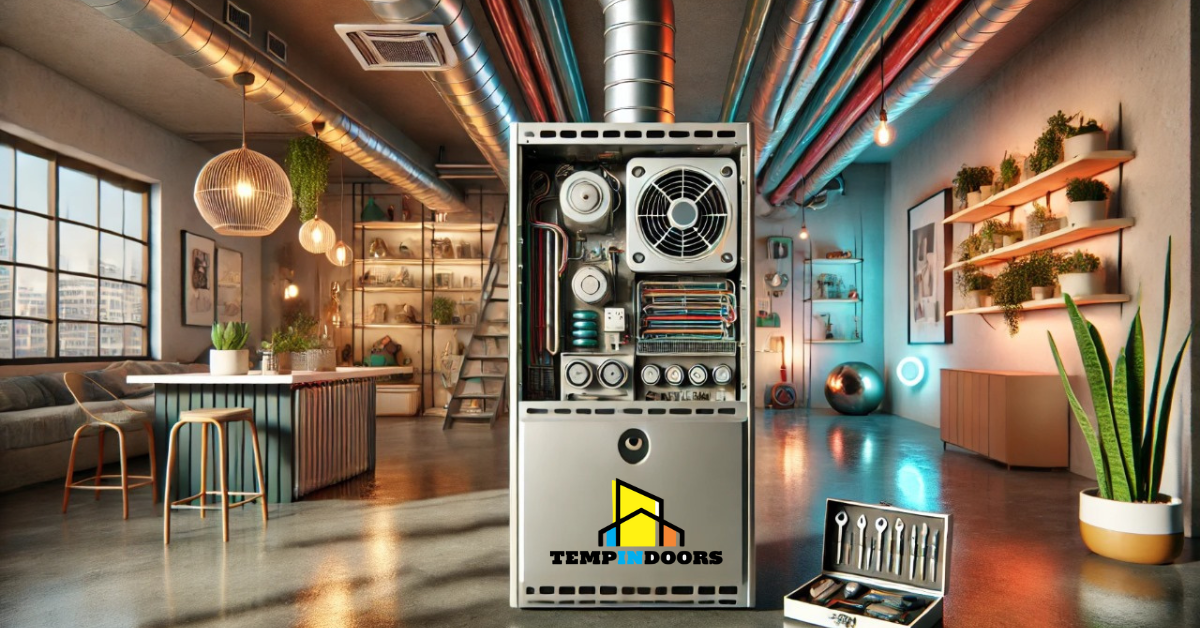
Preparing for Furnace Installation
Before installation begins, preparing where the furnace will be located is essential. Clear out any clutter, debris, or other appliances that could obstruct airflow or pose a safety risk. The stove requires unrestricted access to an electrical outlet and a gas line. If these connections are not easily accessible, adjustments may be needed beforehand.
Also, be aware of any combustible materials, such as wood or chemicals, near the installation site. These should be removed to prevent fire hazards. A clearance of at least three feet around the furnace is typically recommended to ensure proper air circulation and safety during operation.
Key Steps:
- Clear the surrounding area of any obstructions.
- Ensure there’s access to both gas and electrical connections.
- Remove any nearby combustible materials to avoid fire risks.
Reading the Manufacturer’s Instructions
Each furnace model has specific installation requirements that must be followed for safety and optimal performance. Before proceeding, thoroughly review the manufacturer’s guidelines. This document will detail everything from positioning the furnace to making gas and electrical connections.
Some crucial aspects included in the instruction manual are:
- Electrical Connections: How to properly connect the furnace to the power supply.
- Gas Line Requirements: Steps to safely connect the furnace to the gas line.
- Venting and Flue Pipe Installation: Guidelines for correct venting to ensure the furnace expels harmful gases adequately.
Following the manufacturer’s instructions ensures the furnace operates efficiently and complies with local building codes and safety standards.
Positioning the Furnace Correctly
Where the furnace is installed significantly affects its performance and longevity. It should be placed on a flat, solid surface to avoid movement during operation, which could cause damage to the unit or nearby structures. Depending on the layout of the building, furnaces can be installed in basements, attics, or utility rooms.
Considering the furnace’s location about other appliances and rooms is essential. For example, placing it near living areas might result in noise disturbance, so opting for a quieter area may be ideal. If the furnace will be installed in an area with limited space, a wall-mounted model can be an effective solution.
Connecting the Electrical System
Proper electrical connections are critical to ensuring that the furnace operates safely. The power to the stove should be turned off before starting, and a voltmeter can be used to confirm that no electricity is flowing through the wires.
Follow the local building codes when connecting the furnace to the electrical system. It’s essential to avoid overloading circuits or running multiple high-energy devices on the same line, which could lead to short circuits or even fires.
Additional electrical components may be required if your furnace has advanced features, like smart thermostats or multi-stage heating, so following the manufacturer’s specifications carefully is essential.
Installing the Gas Line
Properly connecting the gas line is essential for both the safety and performance of furnaces that run on natural gas. A qualified professional should do this step, as errors can result in gas leaks, which are dangerous and expensive to fix.
The gas line must be sized appropriately to ensure an adequate fuel supply. If the line is too small, it won’t supply enough gas; if it’s too large, the furnace could become inefficient or pose a fire hazard.
Key Considerations:
- Use flexible piping for easier installation.
- Ensure fittings are adequately secured to prevent gas leaks.
- Install gas shut-off valves for safety during maintenance.
Ensuring Proper Venting and Drainage
Venting is one of the most critical aspects of furnace installation. Proper ventilation ensures that harmful gases, such as carbon monoxide, are expelled from the home or commercial building. Depending on the furnace, a chimney flue or PVC piping may be required to vent gases safely outdoors.
In addition, many modern furnaces require a drainage system to remove condensation created during the heating process. If drainage isn’t correctly set up, it can cause moisture buildup and damage the furnace.
Testing the Furnace Post-Installation
Once the furnace is connected and all components are in place, the next step is to perform a test run. This involves turning the stove on and allowing it to operate for about 10 minutes. Listen for any unusual sounds or vibrations, which could indicate installation errors or issues with the unit.
The power-on light should remain stable without flickering, and the system should produce consistent heat output. If the furnace doesn’t start correctly or shuts off unexpectedly, double-check the connections and consult the manufacturer’s troubleshooting guide.
Regular Maintenance for Optimal Performance
Furnaces require regular maintenance to continue operating efficiently. Filters should be cleaned or replaced monthly, especially during heavy-use months in winter. A dirty or clogged filter reduces airflow, causing the furnace to work harder and consume more energy, which shortens its lifespan.
Aside from changing filters, the furnace’s ventilation and drainage systems should be inspected periodically for signs of blockages or leaks. Annual professional servicing is highly recommended to keep the system in top shape and to detect any potential problems before they become costly repairs.
Conclusion: Why Proper Furnace Installation Matters
A successful furnace installation isn’t just about setting up the unit—it’s about ensuring long-term efficiency, performance, and safety. By carefully following each step in the process, from preparation and connection to testing and maintenance, you can prevent future problems and maximize the system’s effectiveness.
Hiring an experienced HVAC technician to handle the installation is often the best choice, as professionals are trained to handle technical challenges and safety requirements. Ultimately, a well-installed furnace can provide reliable comfort for years, saving money on energy bills and repairs in the long run.
Related: How Furnaces Work: A Comprehensive Guide
Related: Furnace Installation Costs: What to Know Before You Install
FAQs
How long does it take to install a furnace?
Typically, a furnace installation takes 4 to 8 hours. The duration depends on the complexity of the installation, such as the location of the furnace and whether any additional work, like ductwork adjustments, is required.
Can a furnace be installed in any room of the house?
While furnaces can technically be installed in various home parts, areas like basements or utility rooms are preferred due to noise and ventilation considerations.
How often should furnace filters be replaced?
Filters should be checked monthly during peak usage and replaced every 30 days if dirty. Clean filters improve airflow and system efficiency.
What happens if a furnace is not vented correctly?
Improper ventilation can lead to the buildup of harmful gases, such as carbon monoxide, inside the home. This poses serious health risks and may damage the furnace.
Can I install a furnace myself?
While some homeowners may attempt a DIY installation, it is strongly recommended to hire a professional due to the complexities involved with electrical connections, gas lines, and ventilation systems.